As the seasons transition, so does the potential of your garden. Planning a seasonal garden layout helps ensure that your garden remains productive, beautiful, and versatile year-round. This guide will walk you through a systematic approach to planning your garden space, considering factors beyond just the spring season. By following these steps, you will be able to make the most out of your gardening efforts, synchronizing plant growth with optimal conditions, and ensuring that every part of your garden thrives.
Think Beyond the Spring
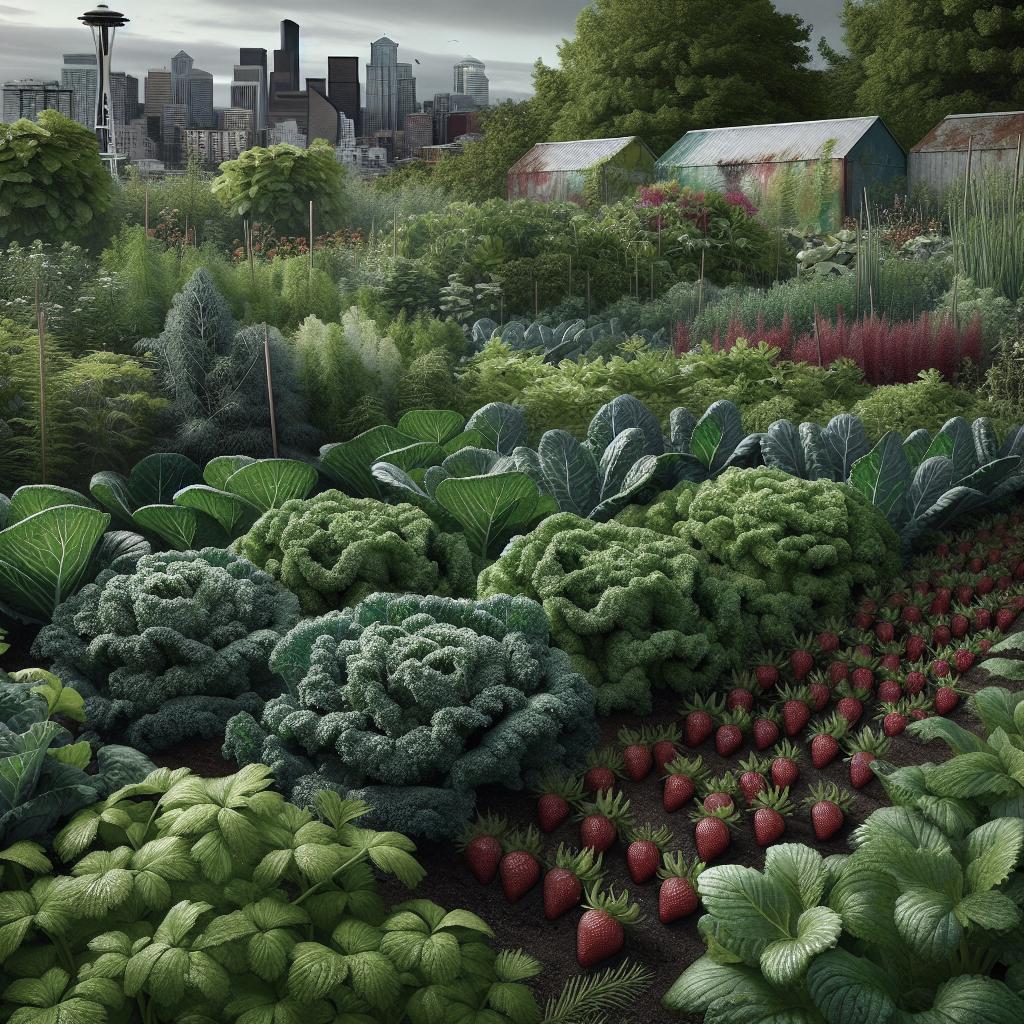
Spring is often considered the peak gardening season, but to create a truly efficient garden, you must think beyond spring. Consider how your garden will look and function in every season. Incorporate a variety of plants that bloom or bear fruit in different months, ensuring that your garden remains dynamic and productive. Thinking beyond spring also means preparing for the colder months. Plan for winter crops or cover crops that will enrich your soil for the next planting season. By anticipating these changes, you can continually harvest fresh produce and maintain a lively garden year-round.
1. Draw Out Every Garden Space You Have
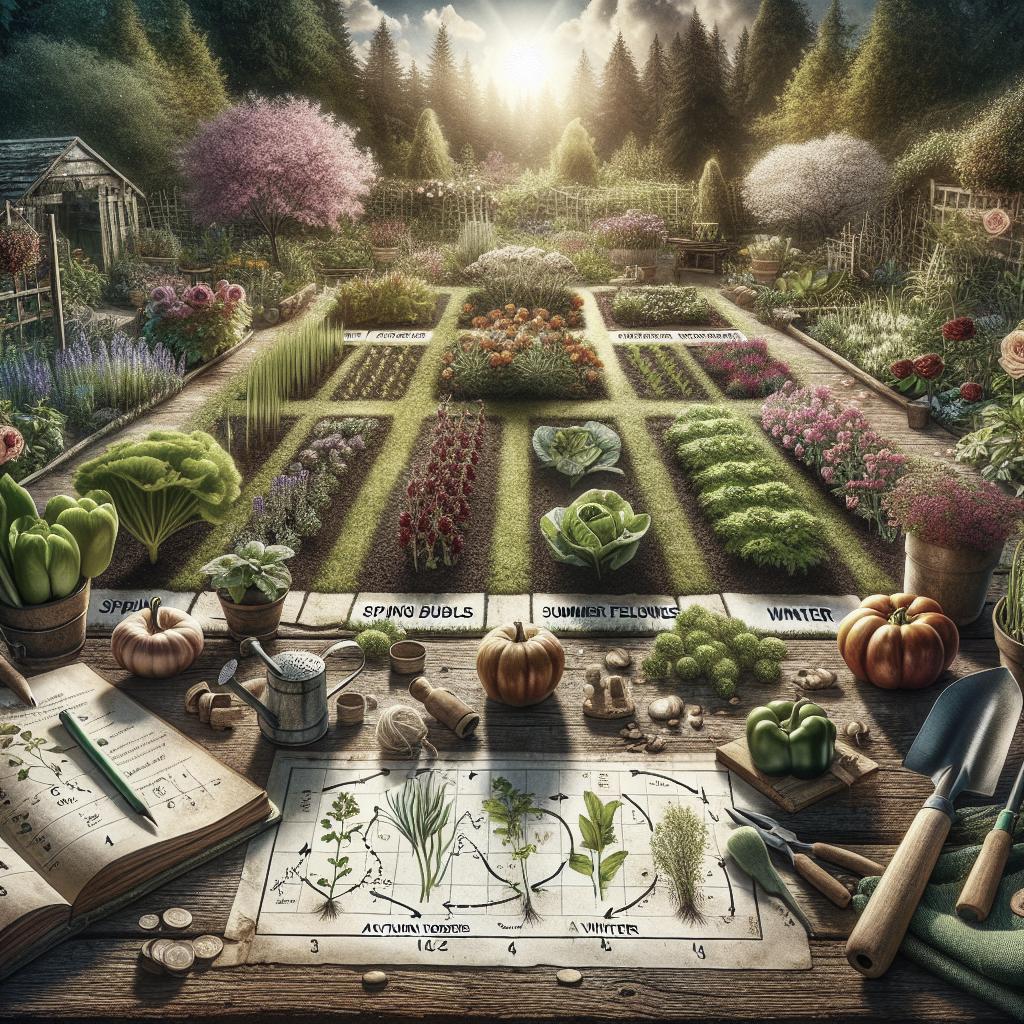
Begin by mapping out every available gardening space. This includes raised beds, containers, ground plots, and even vertical spaces like trellises and walls. Documenting your garden layout helps you visualize where each plant will go and how they will interact with one another. A detailed map also allows you to assess the dimensions and conditions of each space, such as sunlight exposure, water drainage, and soil type. Knowing these variables is crucial for placing plants in their most suitable environment, optimizing growth and yield.
2. Draw/Label Perennial Plants from Prior Season
Next, take into account the perennial plants already established in your garden. These plants will return every year and often take substantial space. Identify and label them on your layout to avoid disrupting their growth or root systems. Knowing the location of your perennials also helps in planning where to plant your annuals, ensuring minimal interference. Additionally, perennials can assist in natural pest control and soil improvement, which benefits the overall health of your garden.
3. Draw/Label any Overwintered Plantings
If you have crops that survived the winter or were intentionally overwintered, make sure to incorporate them into your new plan. Crops like garlic, kale, and certain types of onions often grow best when they overwinter. Labeling these overwintered plants on your garden map ensures that you give them the care they need to thrive come spring. It also helps you assess what space will be available for new plantings and how these plants can integrate into your overall garden design.
4. Start with Crops You Know Need to Go in a Specific Place
Certain crops have specific requirements or benefits when planted in particular areas. For instance, tomatoes need plenty of sunlight, and squashes often require ample ground space to spread. Start your garden layout by placing these crops first. Once these anchor crops are in place, you can plan around them, incorporating other plants that have less stringent requirements. This approach ensures that your most demanding crops get the best conditions, while also making efficient use of your garden space.
5. Consider Crops That Need Specific and/or Permanent Trellising
Vertical gardening is a fantastic way to maximize space, especially for plants that climb or need support like beans, peas, or cucumbers. Plan for permanent trellising systems or structures that will remain sturdy throughout the growing season. By allocating specific areas for these trellised crops, you prevent overcrowding and make better use of the vertical space. Plus, these structures can often double as a source of shade for more sensitive plants growing beneath them.
6. Label Crops That Need a Certain Environment or Specific Bed
Some plants have highly specific growing requirements like soil pH, moisture levels, or sunlight exposure. Label these crops accurately in your plan so that they are placed in the most suitable environment within your garden. For instance, blueberries require acidic soil, while leafy greens like lettuce thrive in partial shade. By ensuring that these specific needs are met, you promote healthy growth and reduce the risk of disease or stunted development.
7. Consider Succession Planting or Relay Planting Combinations
Succession planting involves growing multiple crops in the same space throughout the year. For example, you could plant early-harvest vegetables like radishes followed by summer crops such as tomatoes, and then again by fall greens like spinach. This method maximizes the use of your garden space and extends the harvest season. Plan for these succession layers in your layout, ensuring that each crop has a designated time and place to grow.
8. Look for Companion Planting Combinations
Companion planting is the practice of growing certain plants together to enhance growth, repel pests, or improve flavor. Examples include planting basil near tomatoes to deter aphids or growing marigolds near a vegetable garden to discourage nematodes. Identify and label these beneficial plant pairings in your garden layout. Companion planting not only improves plant health but also can lead to a more vibrant and diverse garden ecosystem.
9. Note Where You Want to Add Flowers and Herbs
Flowers and herbs can play crucial roles in a garden beyond just adding beauty. Herbs like rosemary and thyme can deter pests, while flowers such as nasturtiums can attract beneficial insects like pollinators. Incorporate these elements into your garden layout, strategically positioning them to maximize their attributes. Not only will this enhance the garden’s functionality, but it will also create a more visually appealing and aromatic space.
10. Label Containers
Don’t forget about your container plants. Whether you are using pots for herbs, window boxes for flowers, or large containers for vegetables, label their positions in your garden layout. Containers offer flexibility as they can be moved to catch the sun or avoid inclement weather. Properly labeling and planning for your container plants ensures they integrate well with the rest of your garden. This organization helps maintain a cohesive and well-maintained garden space.
Do you get overwhelmed with garden planning?
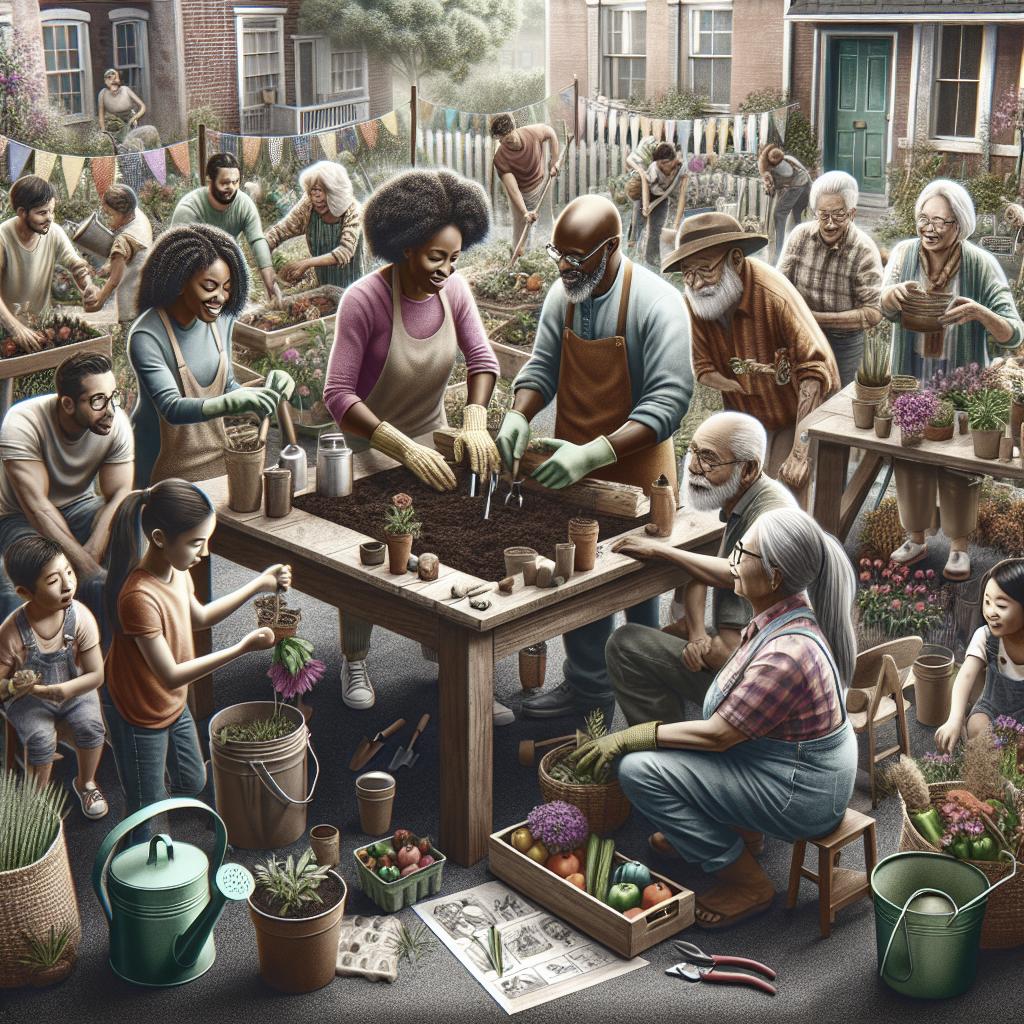
It’s natural to feel overwhelmed when planning your garden layout, especially if you are managing multiple crops with varying needs. However, using a structured approach can simplify the process. Breaking the task down into steps, as outlined above, helps make the planning manageable and ensures no detail is overlooked. Remember, garden planning is an art that becomes easier with practice. Each season offers a learning opportunity, helping you refine your layout for more efficient and productive gardening in the future.
Related
Here are some additional resources that might help you further in planning your garden:
Lessons Learned
| Steps | Key Points |
|---|---|
| Think Beyond the Spring | Plan for all seasons to maximize garden productivity. |
| 1. Draw Out Every Garden Space You Have | Map every part of your garden, including vertical spaces. |
| 2. Draw/Label Perennial Plants from Prior Season | Identify and label established perennial plants. |
| 3. Draw/Label any Overwintered Plantings | Incorporate overwintered crops into your plan. |
| 4. Start with Crops You Know Need to Go in a Specific Place | Place crops with specific requirements first. |
| 5. Consider Crops That Need Specific and/or Permanent Trellising | Allocate space for trellised crops. |
| 6. Label Crops That Need a Certain Environment or Specific Bed | Ensure crops with specific needs are placed appropriately. |
| 7. Consider Succession Planting or Relay Planting Combinations | Plan for multiple crop cycles in the same space. |
| 8. Look for Companion Planting Combinations | Use beneficial plant pairings for improved growth and pest management. |
| 9. Note Where You Want to Add Flowers and Herbs | Strategically place flowers and herbs for aesthetics and functionality. |
| 10. Label Containers | Include container plants in your garden layout for flexibility. |